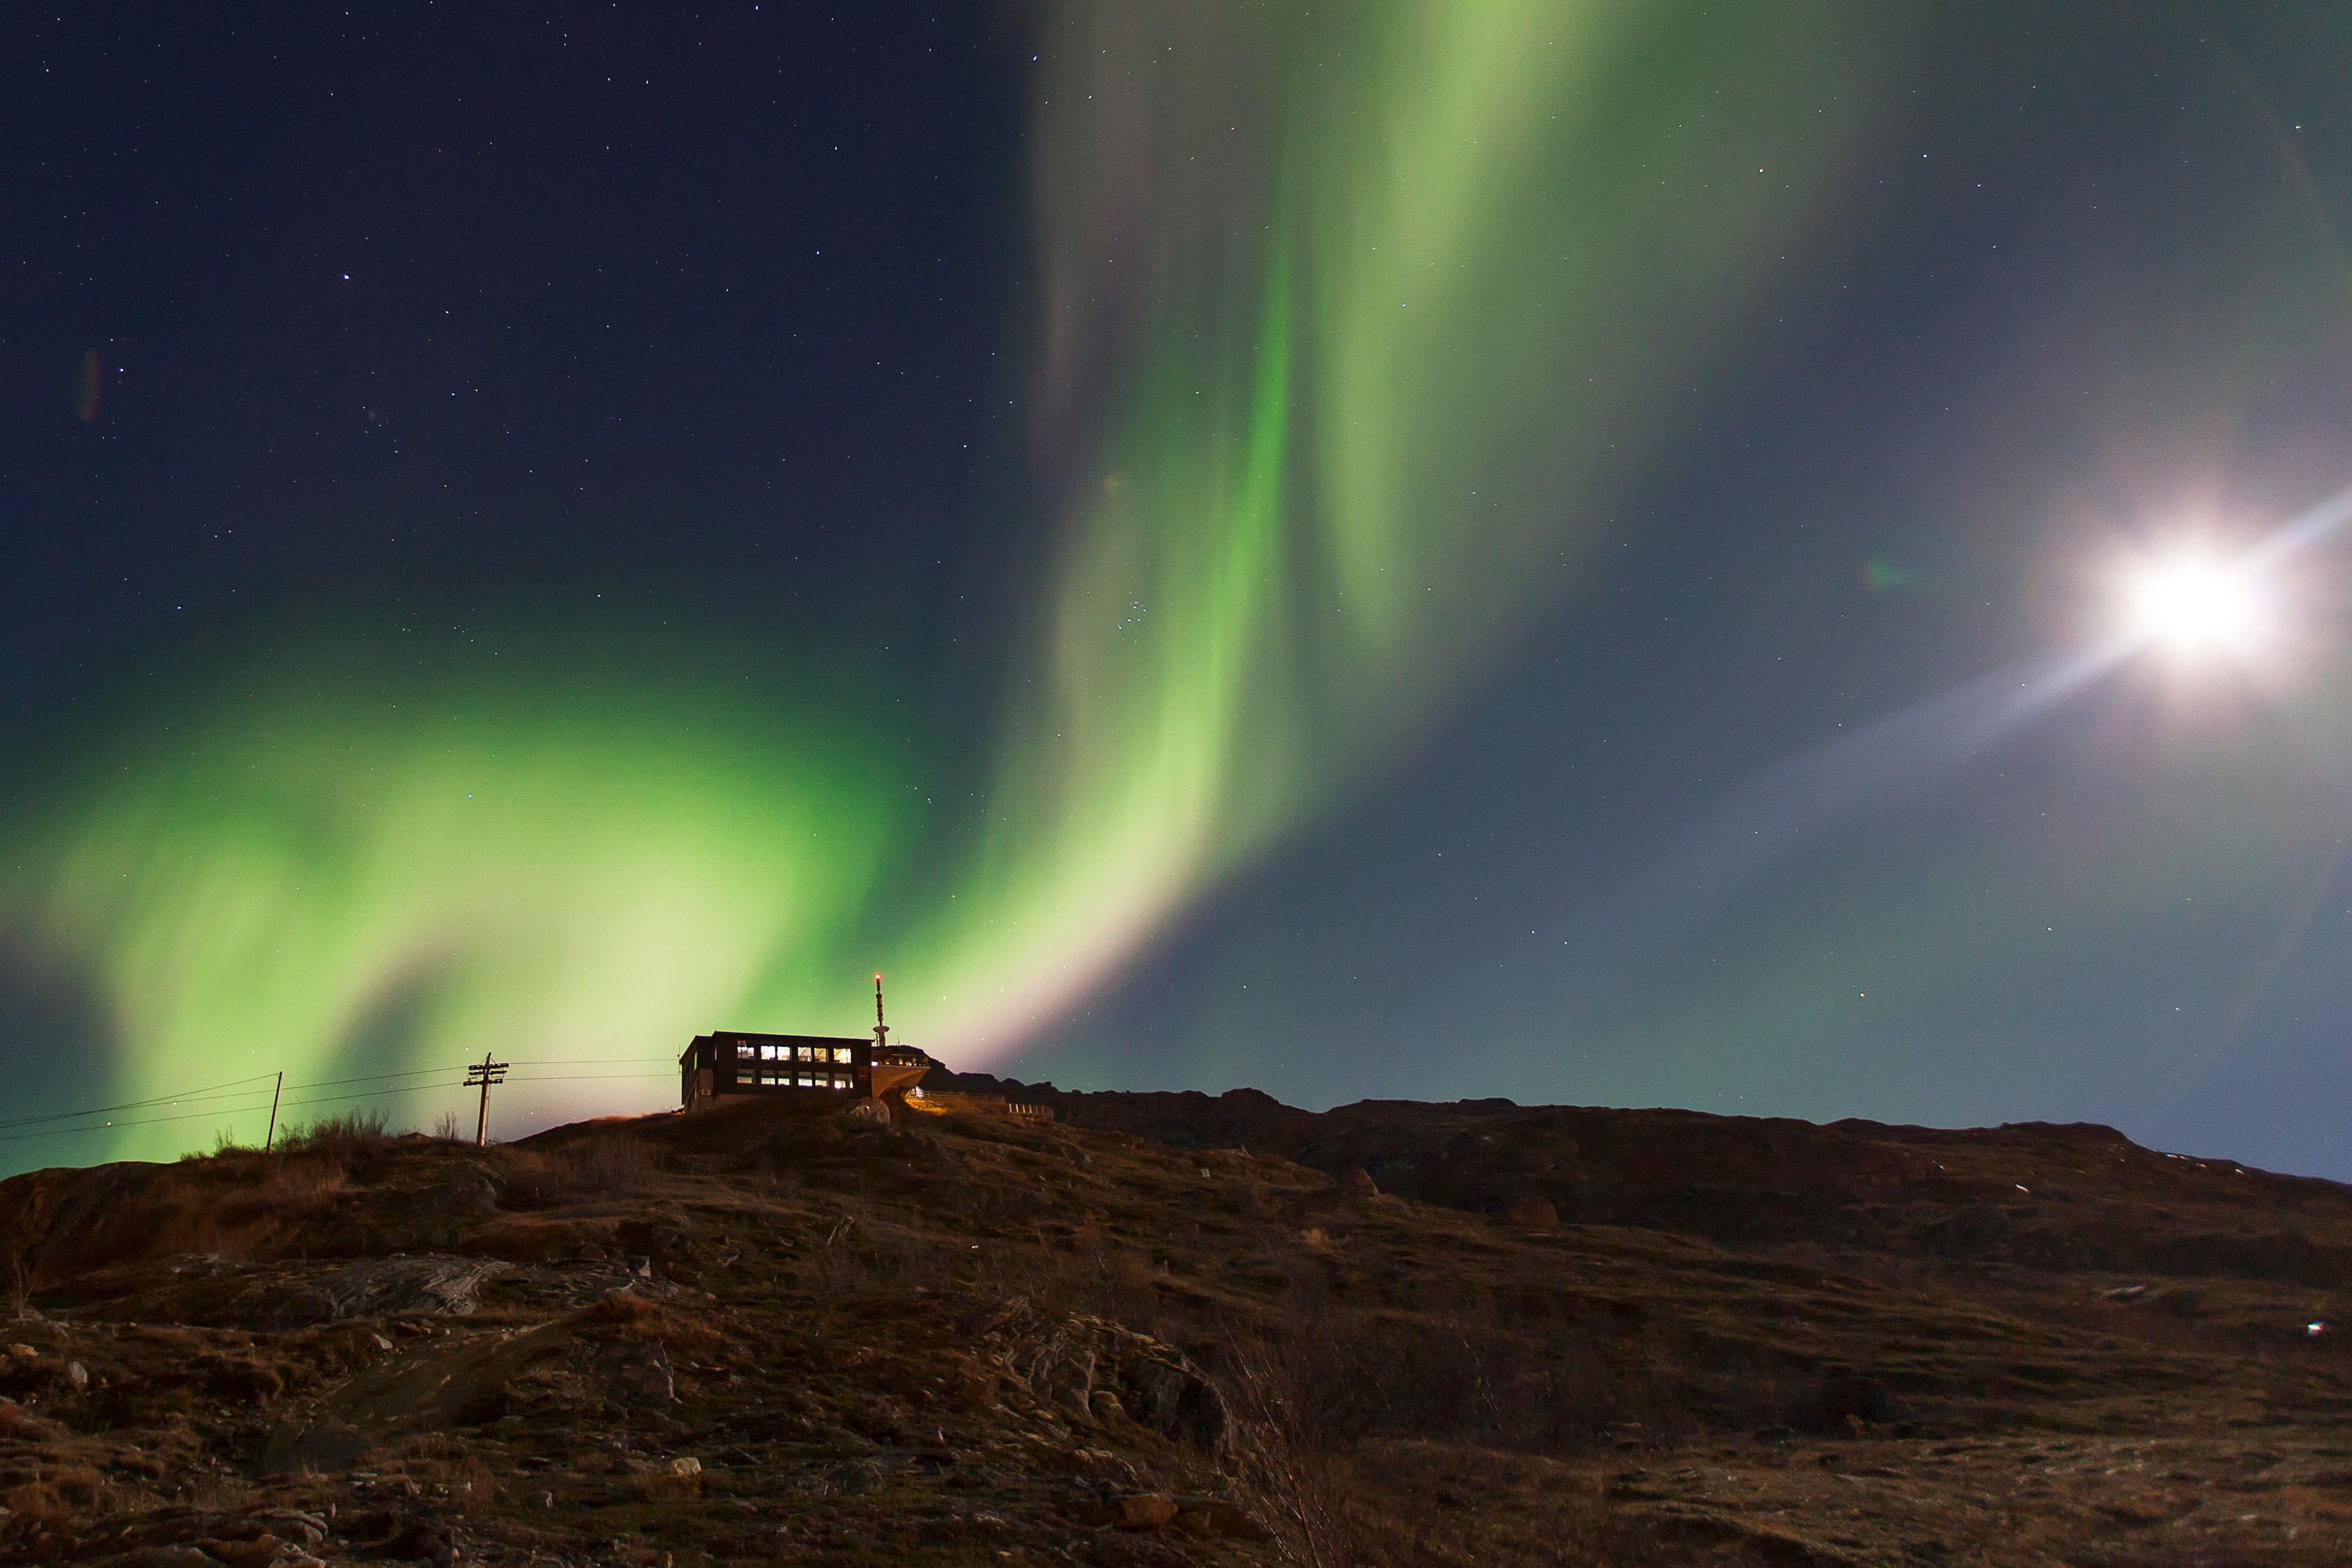
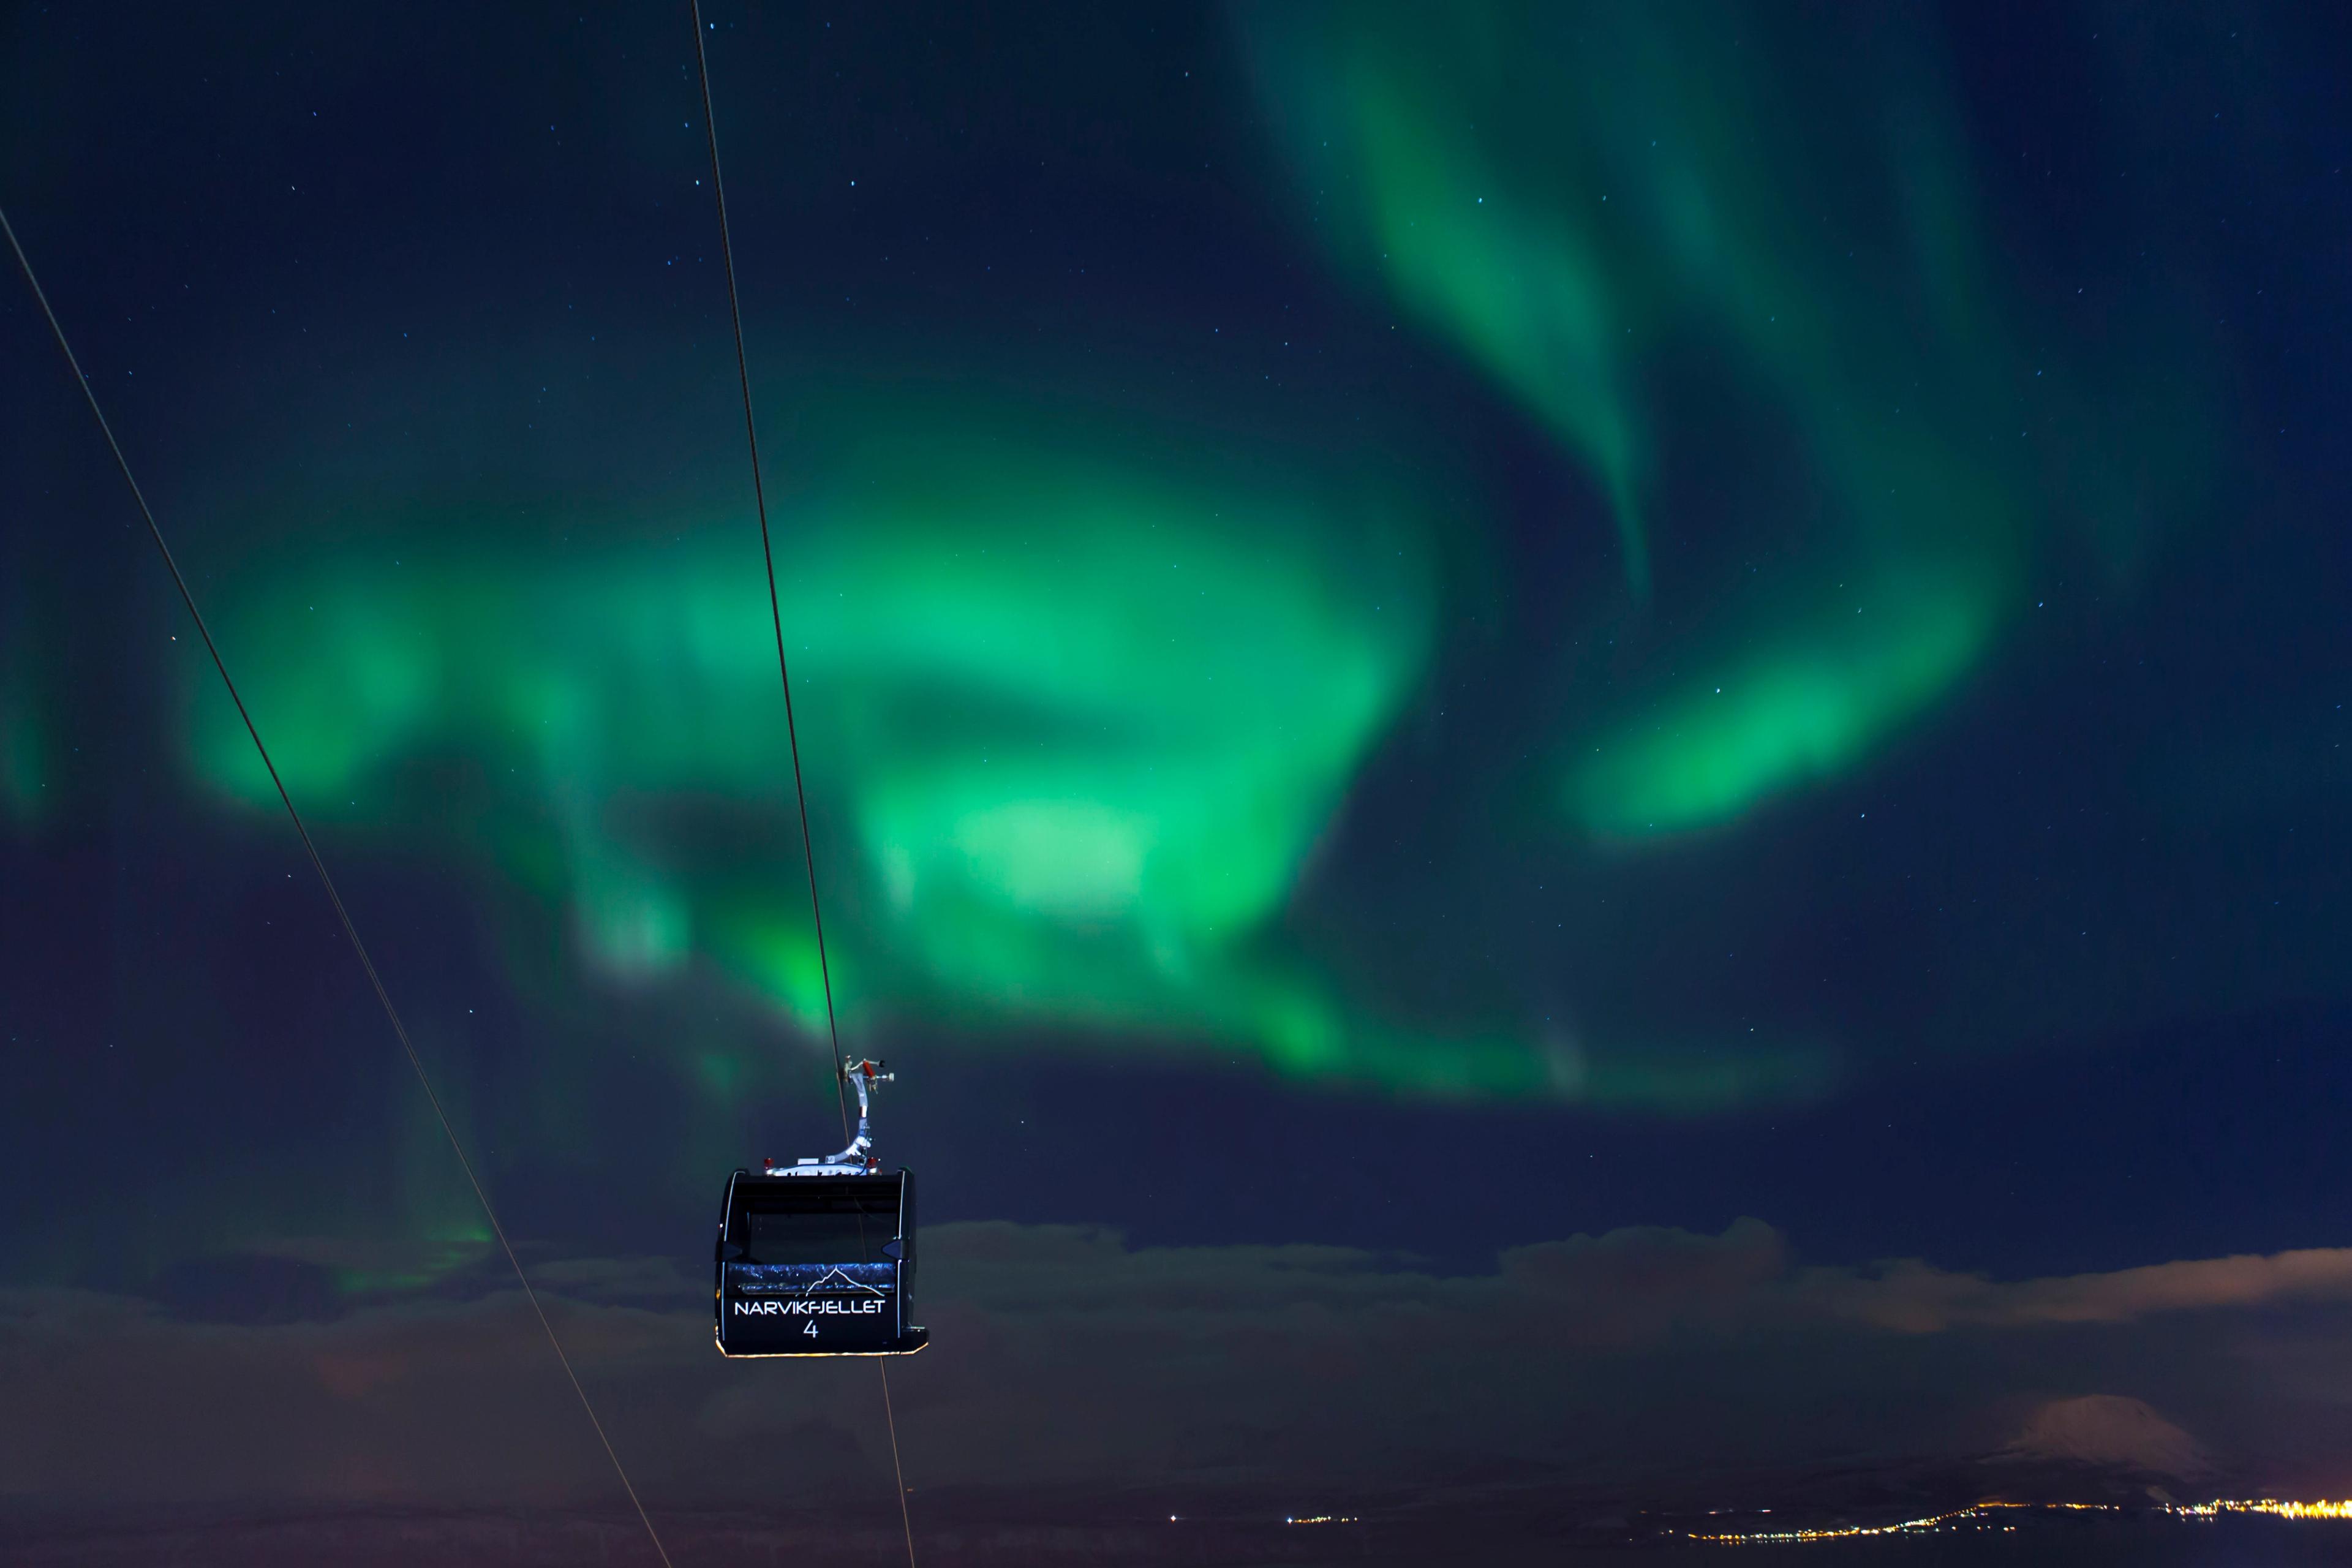
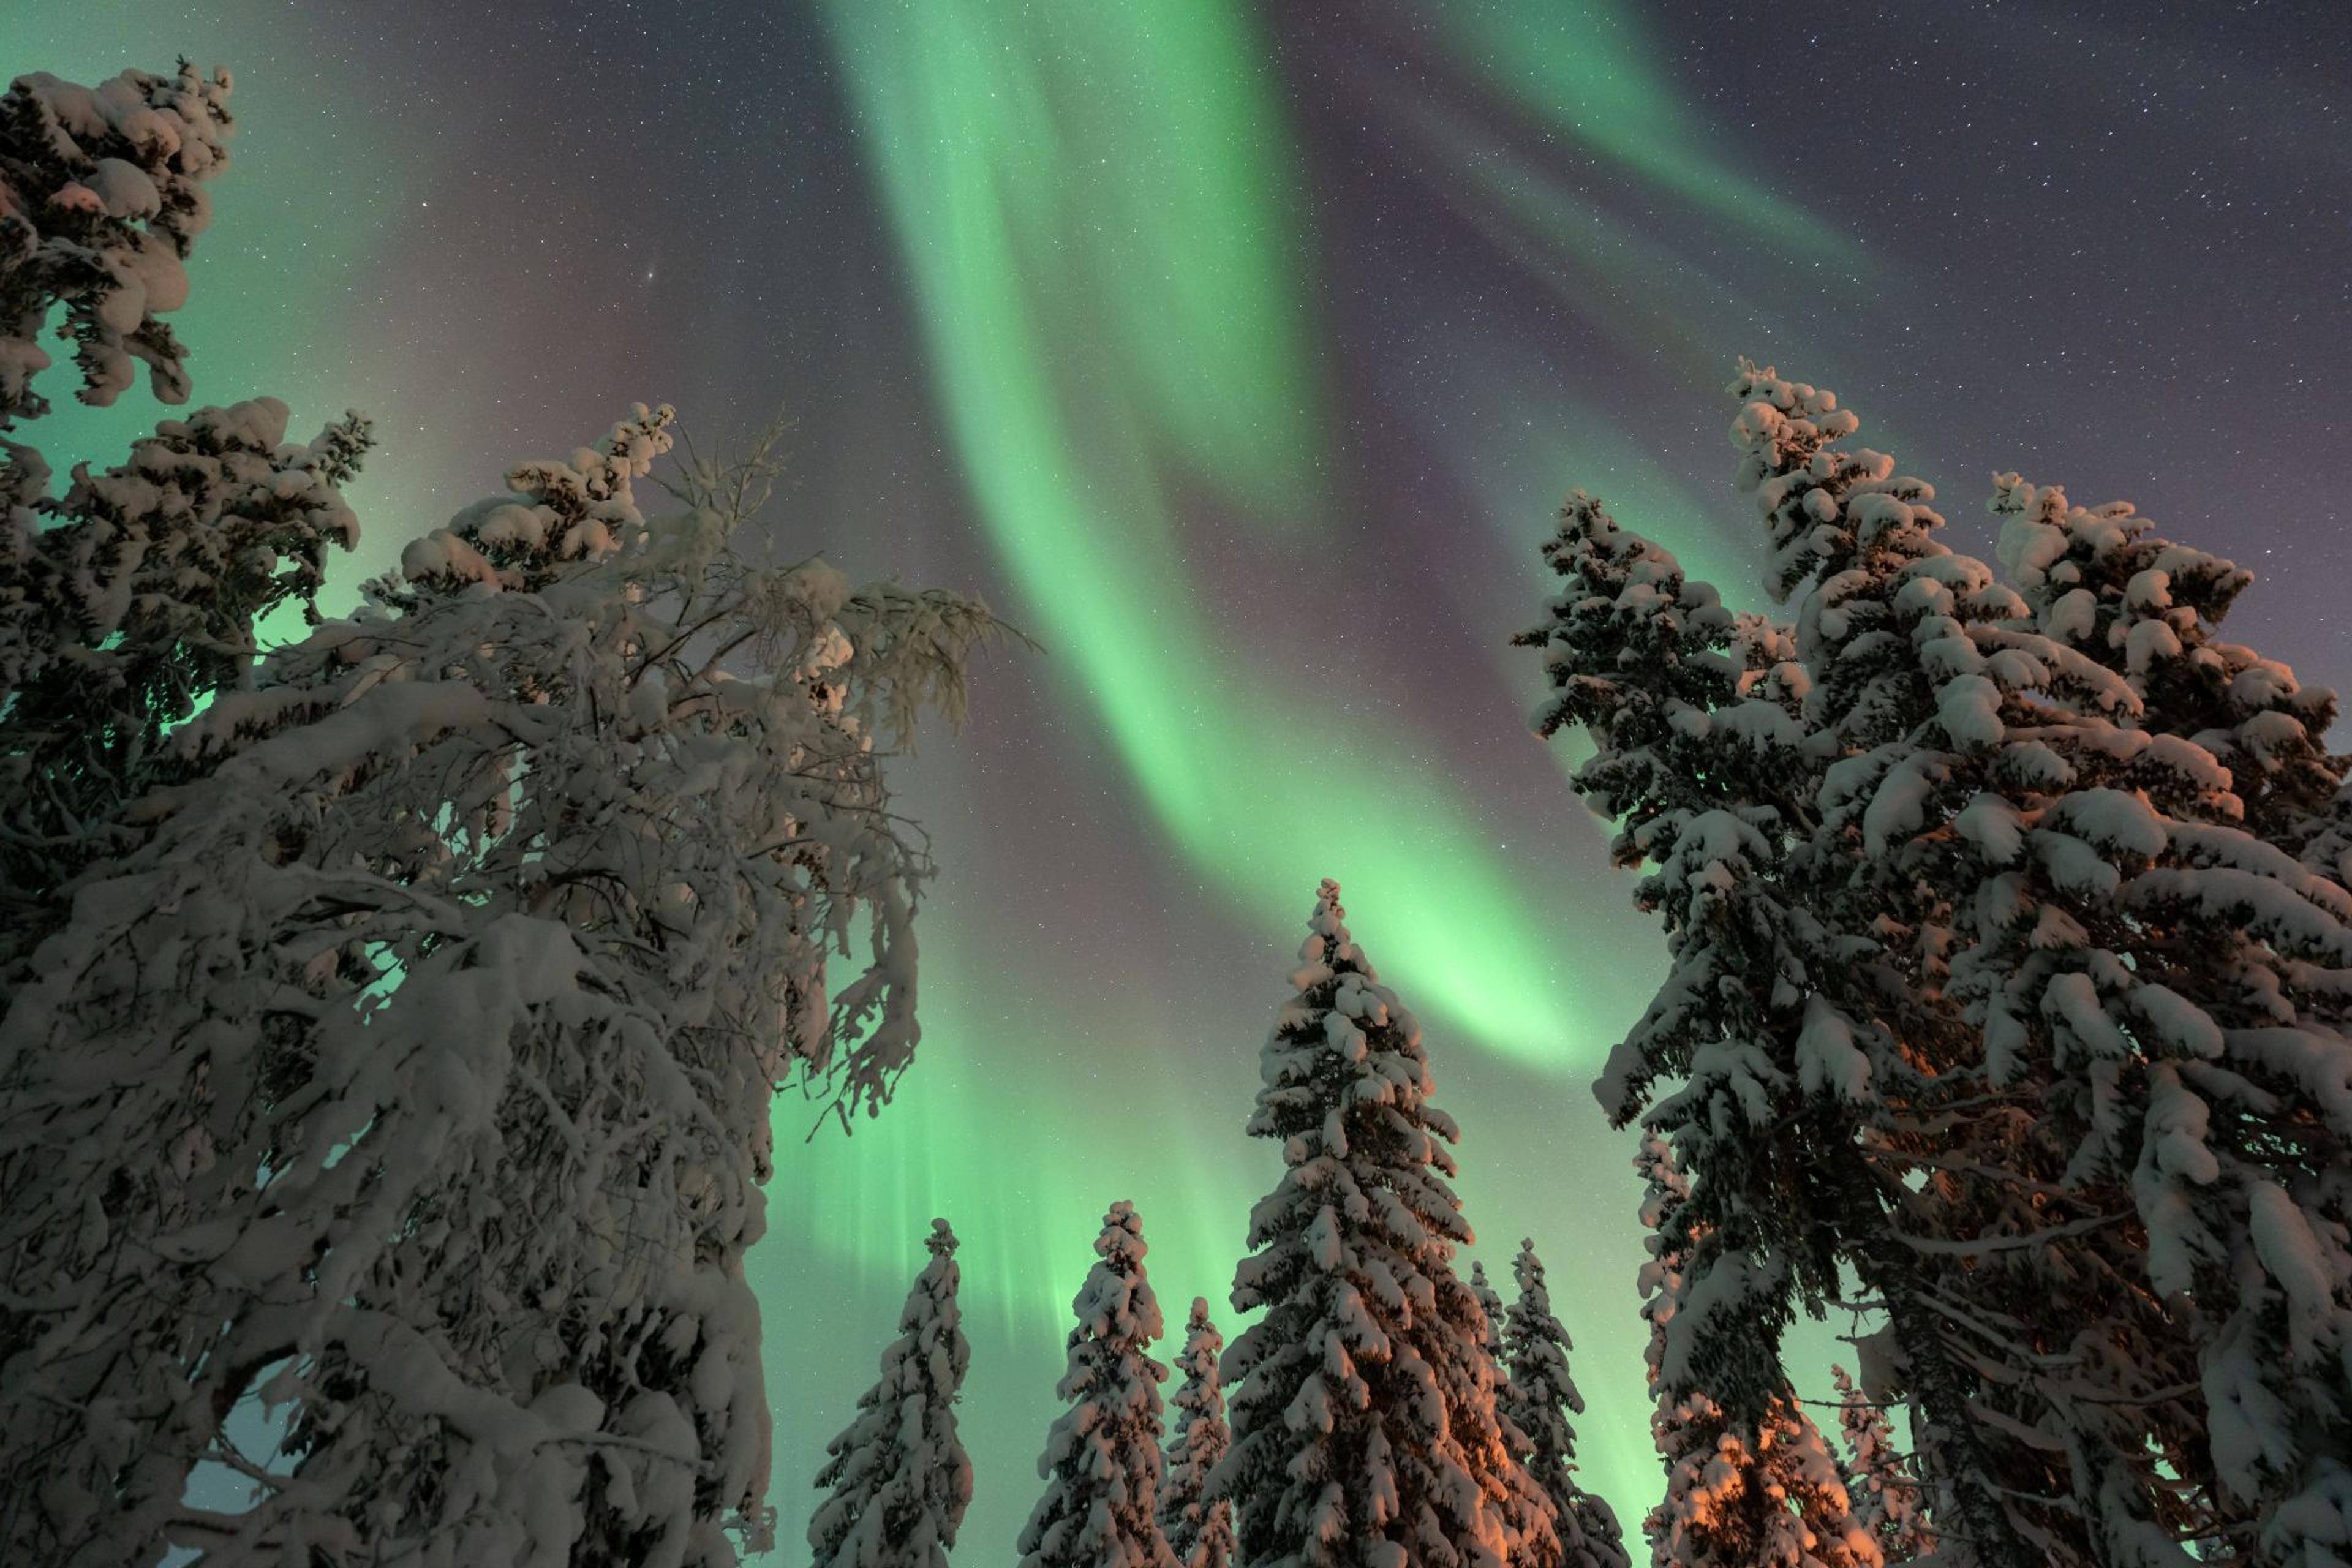
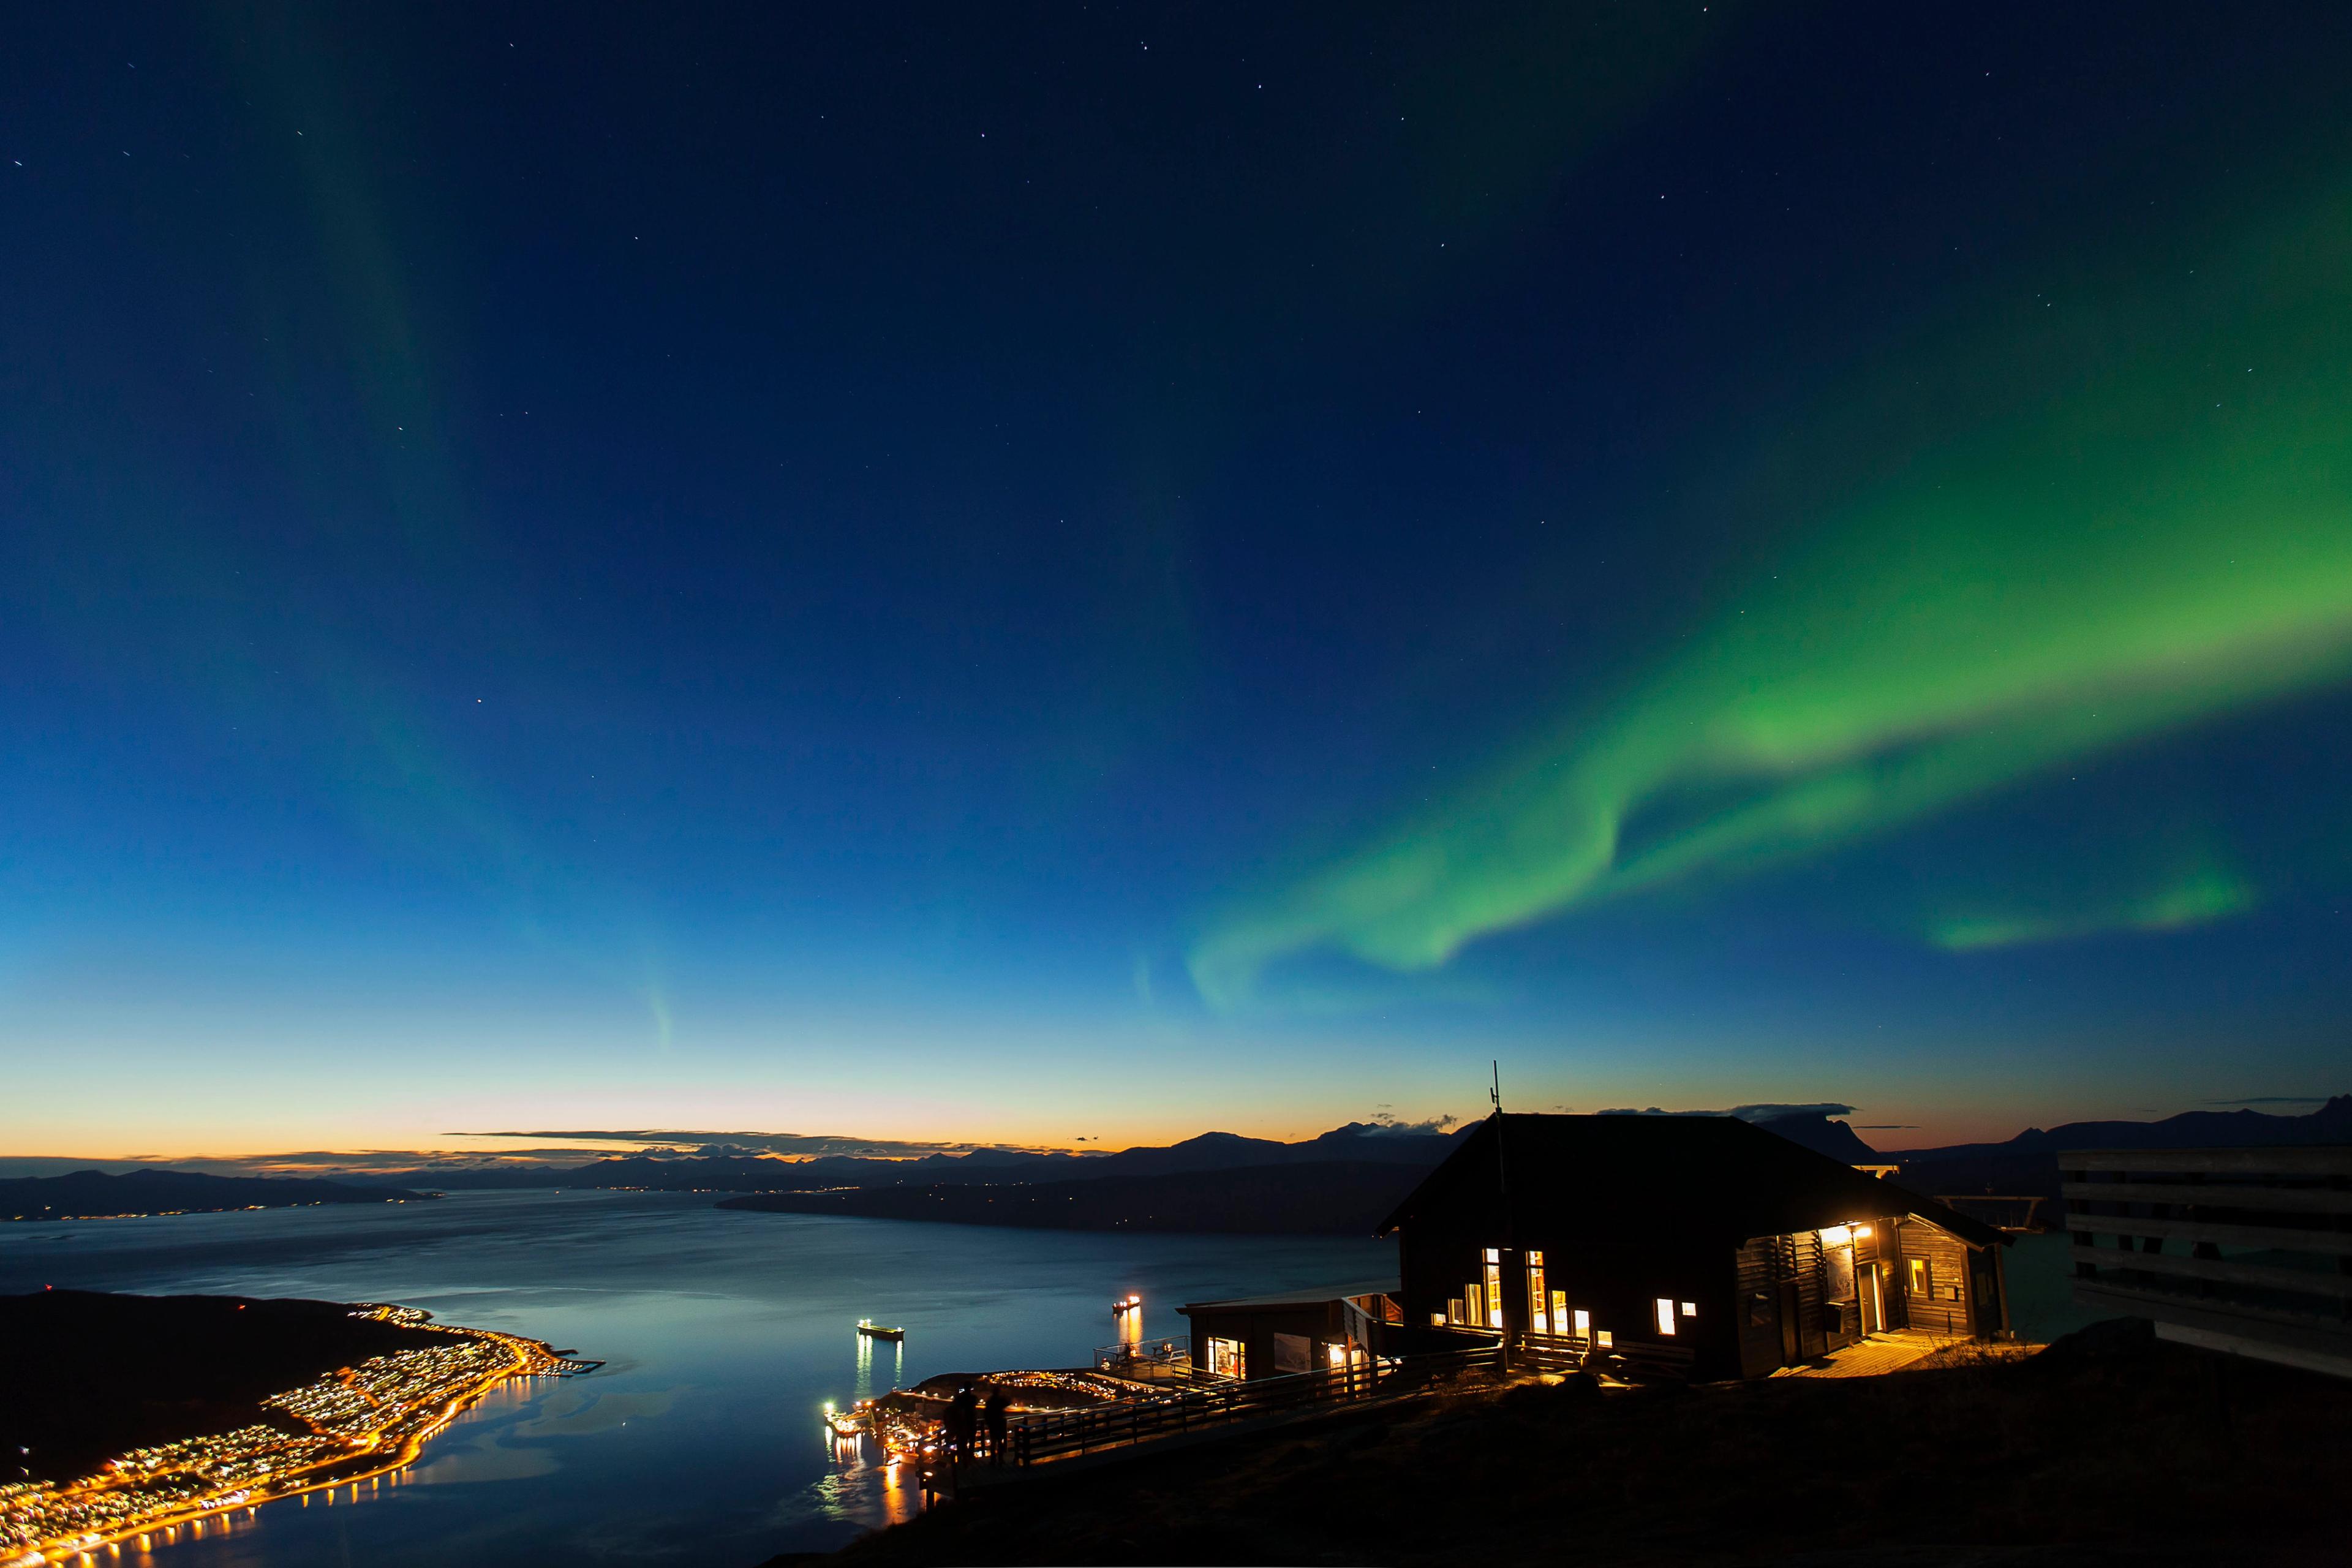
If you have ever photographed in the dark, you know it is not always as straight forward as it looks. To make it a bit easier for you, we asked Norway’s best photographer, Chris Baldry, to share his tips for northern lights photography.
Whether you use your phone or a camera, a few simple adjustments can help you bring home a photo of the experience. From keeping your camera steady to finding the right settings.
The northern lights, also known as the Aurora Borealis, change constantly. You might see a faint glow or bright curtains moving across the sky. There is no single setting that works every time, but you do not need to be an expert to get started.
Northern Lights Photography: Start with a Steady Camera
Chris’s number one rule is simple: keep your camera still.
When you take photos in the dark, your camera needs time to capture enough light. If it moves during the exposure, the stars and northern lights can become blurred.
A tripod is your best option, but a table, railing or another solid surface can also help. Make sure your camera or phone rests securely, and avoid touching it while it takes the photo. A short self-timer delay lets you press the shutter and step back without shaking the camera.
Turn off the flash, too. It cannot light up the northern lights and may disturb other people enjoying the view.